Re:amaze’s awesome JavaScript support widgets are actually alarmingly easy to implement. Squarespace is a site builder loved by many in the fine arts services space. Photographers, artists, boutique store owners, and artisan crafters love Squarespace for its beautiful templates and wonderful customer service.
Integrating Re:amaze
When you first log into your Squarespace account, you’ll most likely be greeted with this main navigation menu. Go ahead and click on “PAGES”. This is where most of your site content lives. Let’s start there.

Step 2
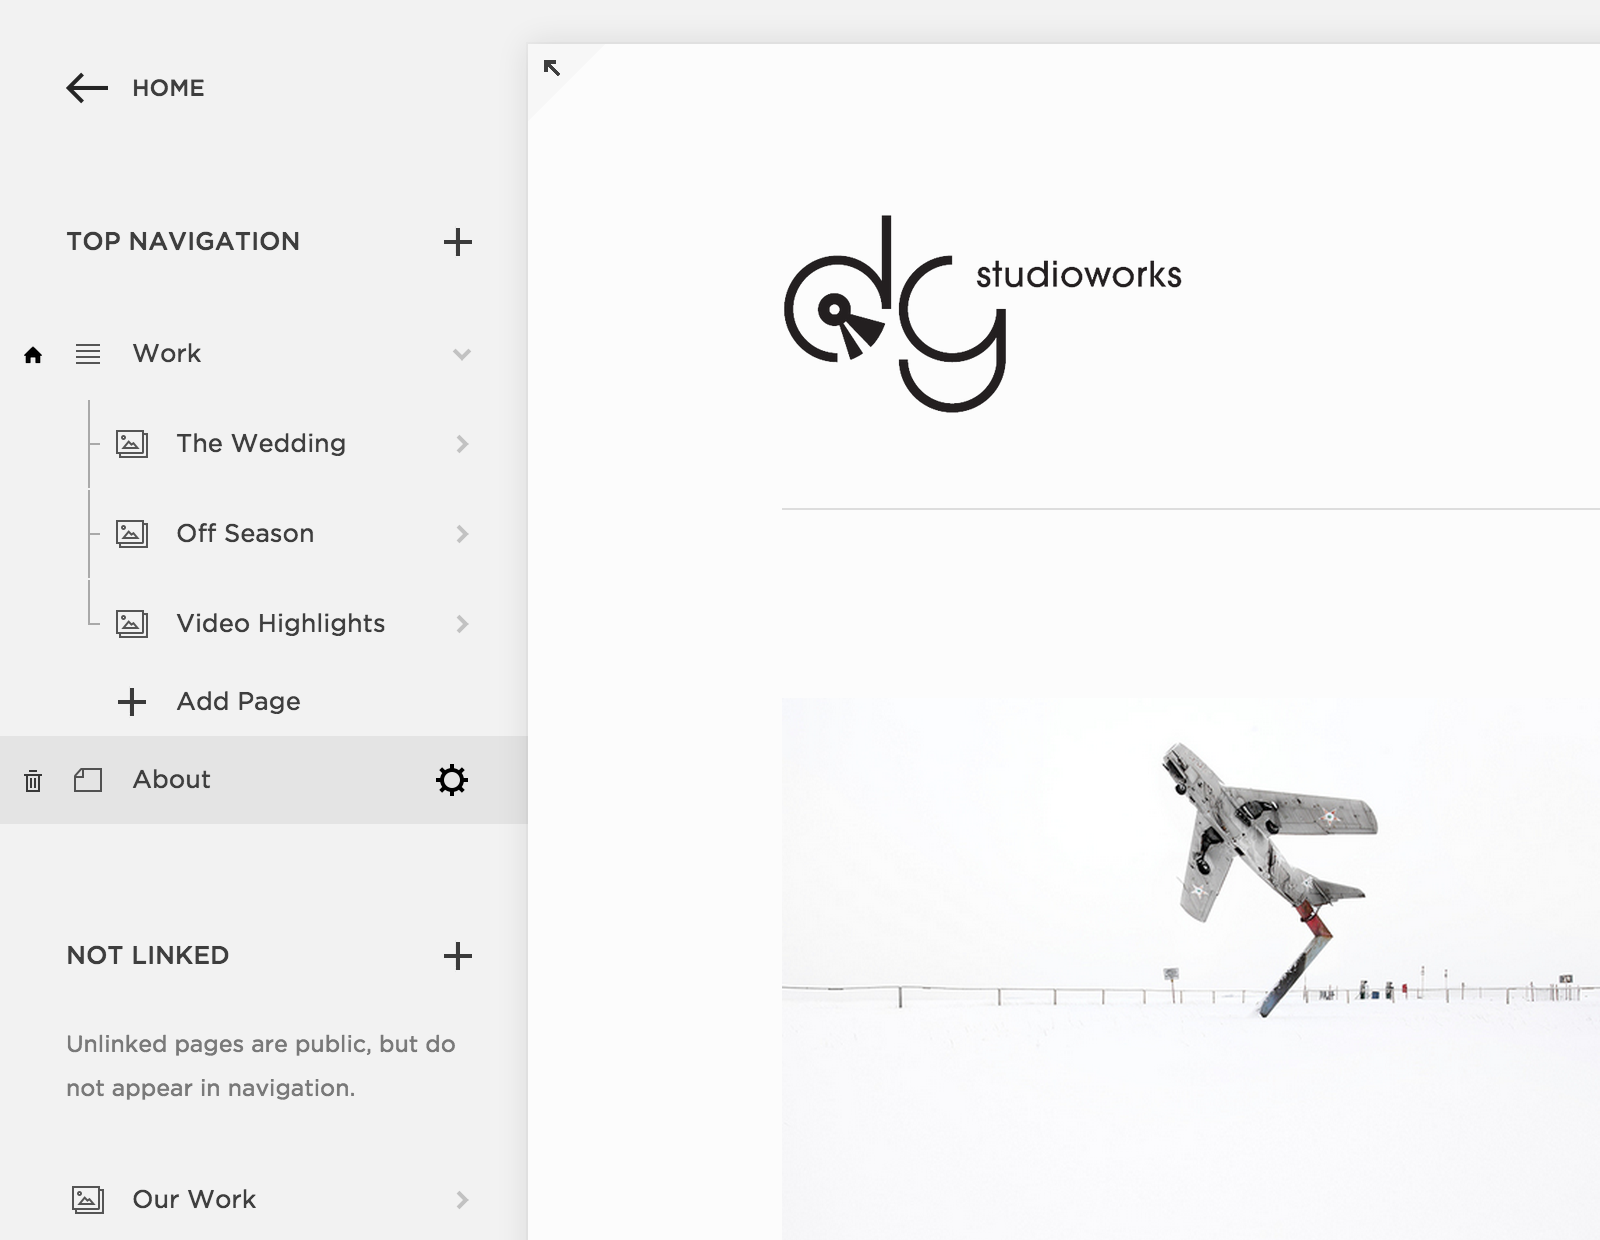
Squarespace organizes your sites content by hierarchy. If you want to install Re:amaze’s shoutbox widget on the main homepage, you’ll want to find the main page anchor. For me, this is called “Work”. Click on the gear icon to open that page’s settings panel.

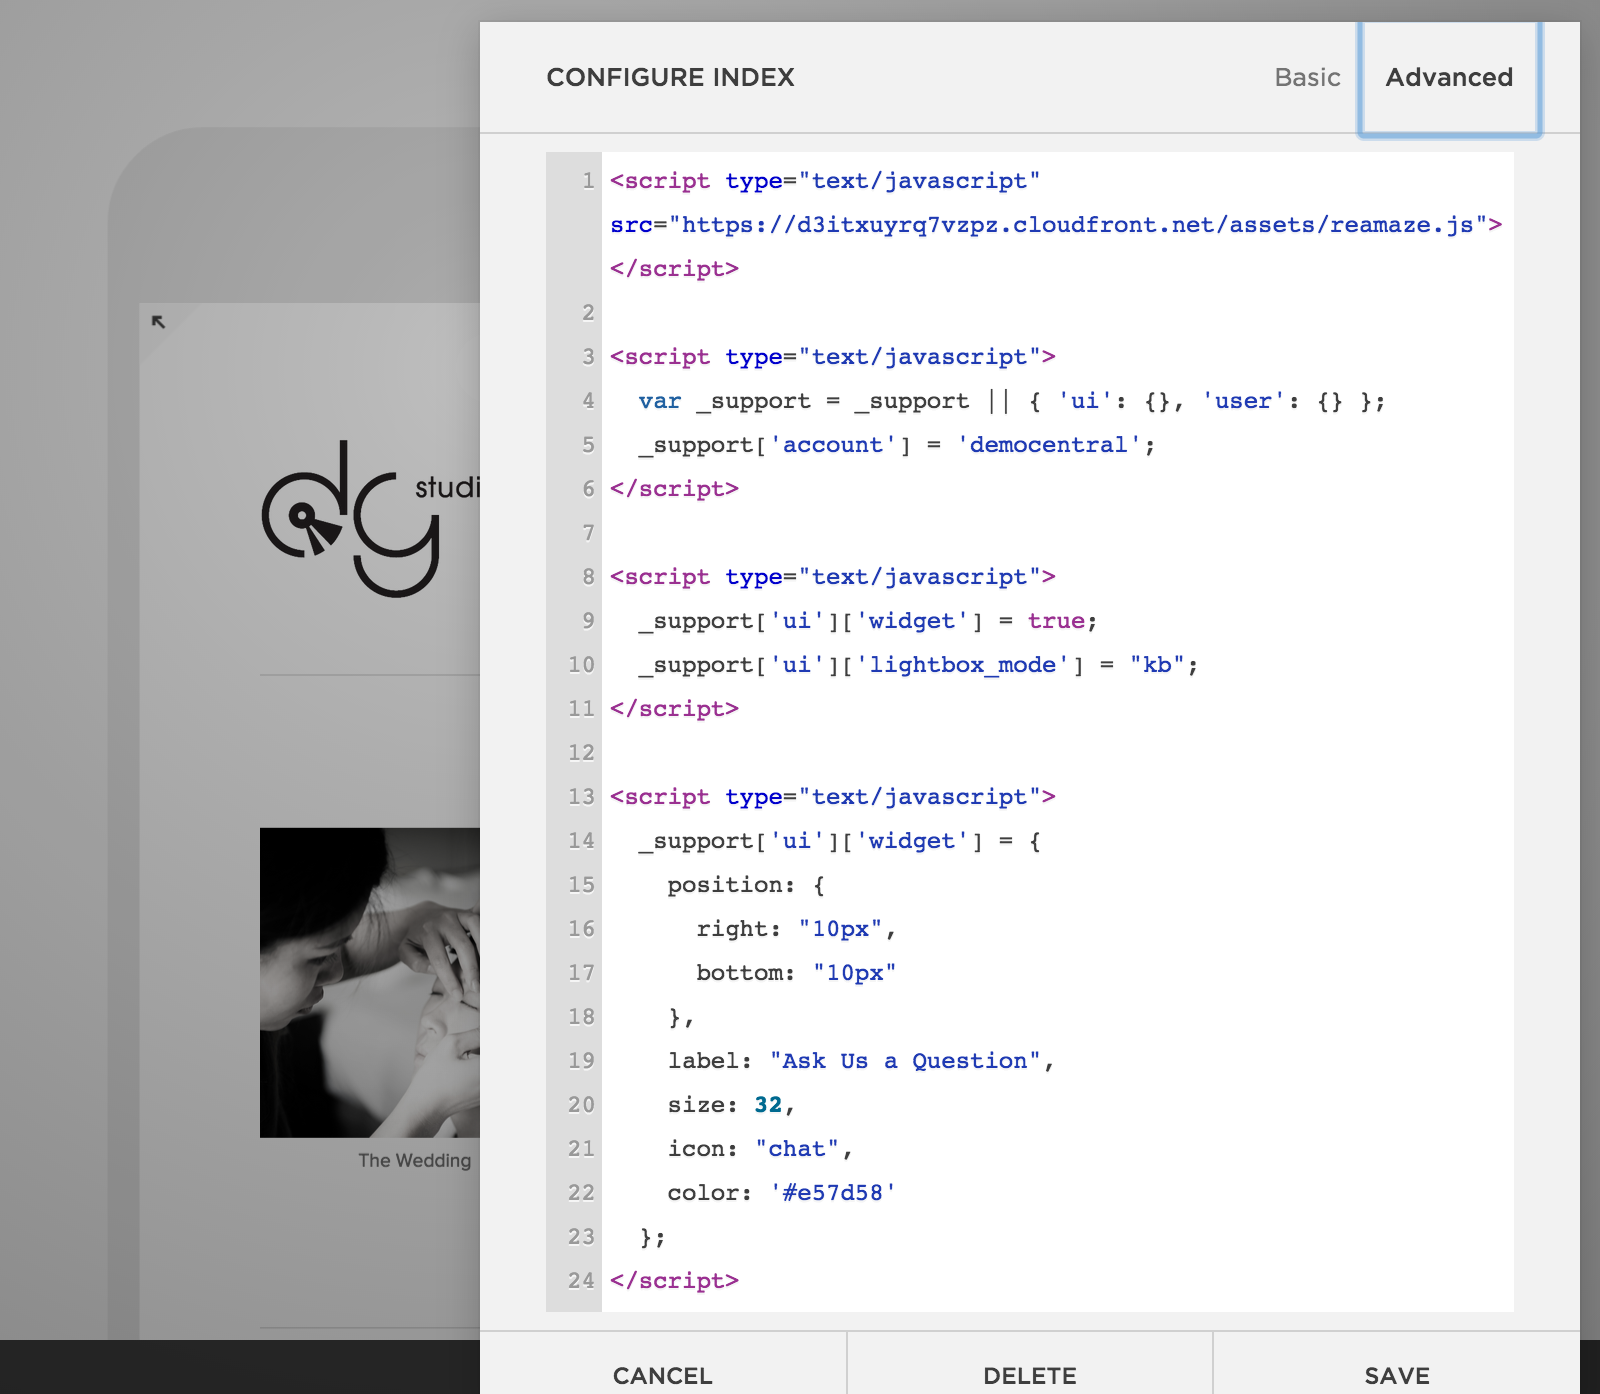
Once you click on the gear icon. This settings panel will appear on the right hand side. Click on “Advanced” to open the HTML editor. Now, head on over to the developer documentation. Copy the script under “Base Installation”, paste it here in the first line.
Copy the script under “Brand Identification” and paste it underneath the first script. Replace {{ YOUR_BRAND_SUBDOMAIN }} with your subdomain name. Now head on over to the next page by click next or go to the Basic Shoutbox section. Pick the mode you like to install: Contact Mode or Self Service Mode. Copy the script under “Installation” and paste it underneath. You’re pretty much done at this point. Click “SAVE” and see if you like the look and feel!
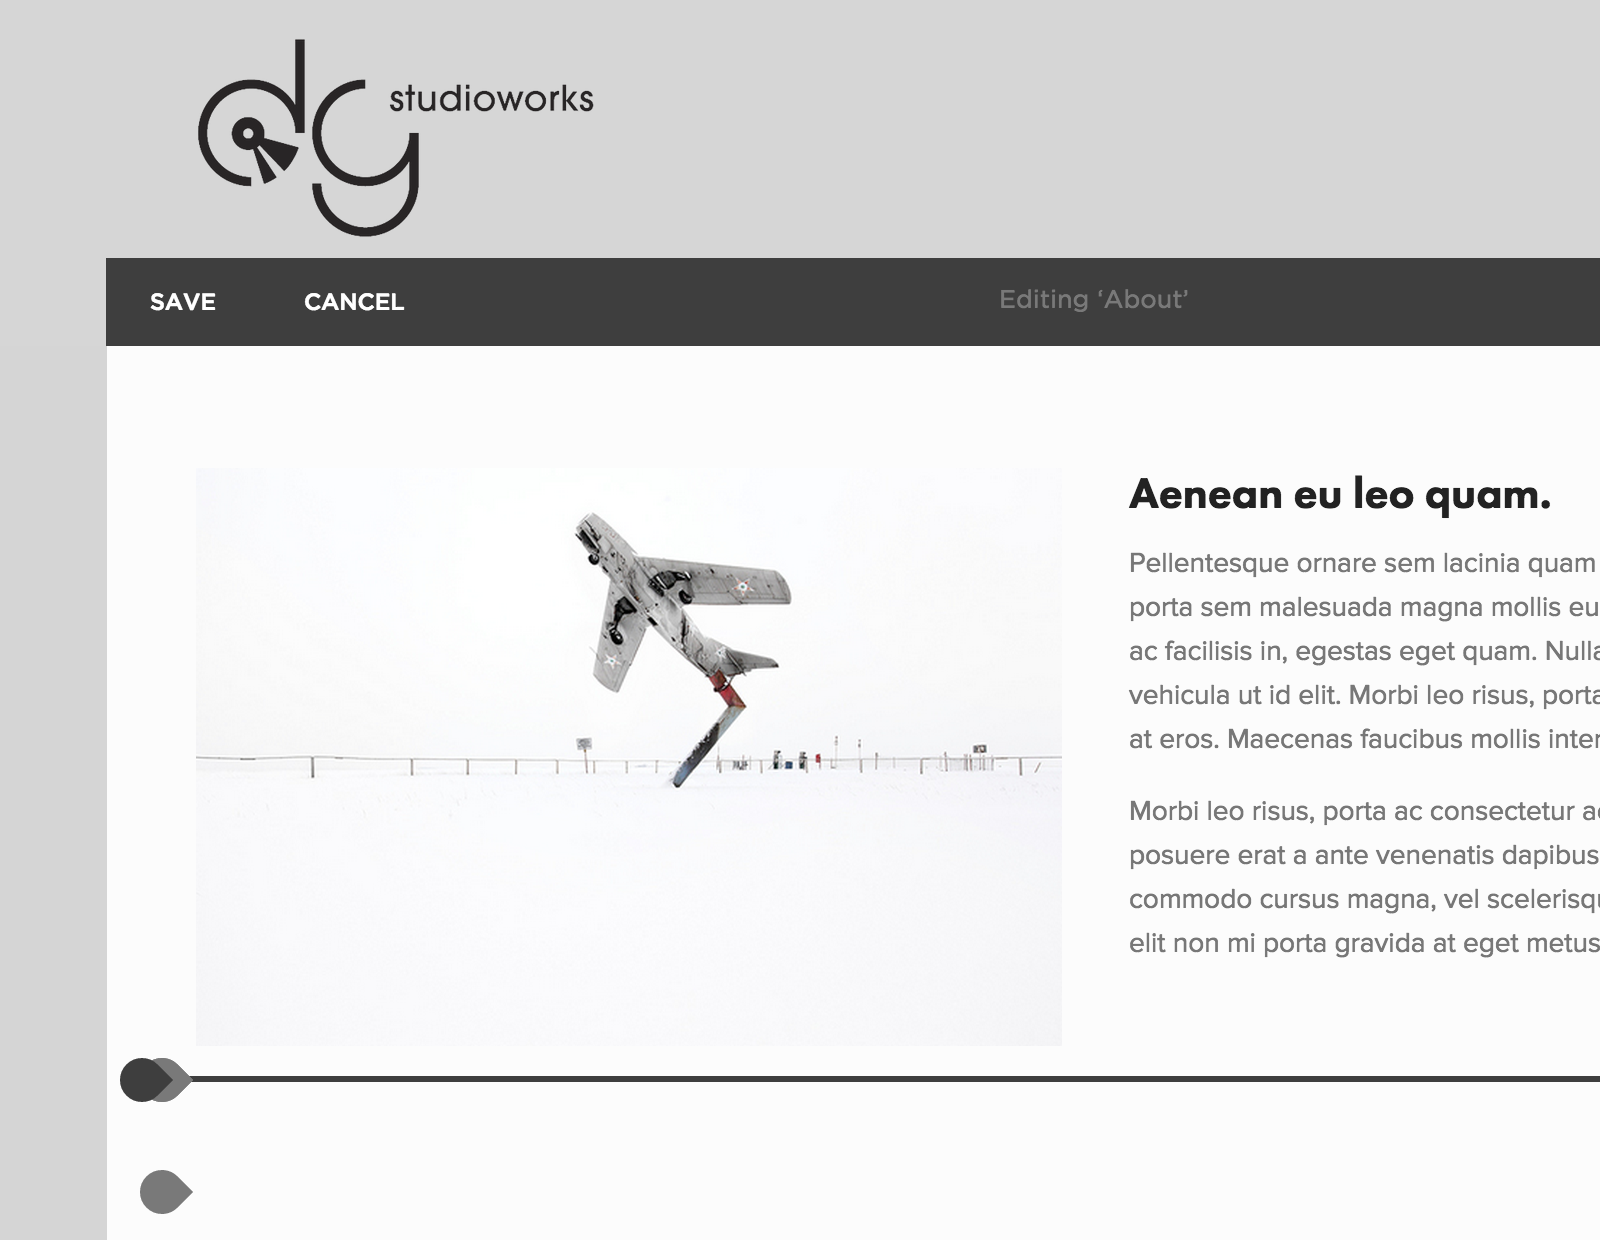
If you want to customize the look and feel of that widget trigger (which by default is a gray circle with a question mark), you can copy the script under “Customizing Trigger Color, Sizing, and Label”. You can define where you want to place the widget trigger. For example, I used 10 pixels from the right and 10 pixels from the bottom. For the label, just type what you want the trigger to say. I wrote “Ask Us a Question”. Pick a size (the standard is 32). Pick an icon (either ‘help’ or ‘chat’). Lastly, pick a nice color that matches your site. You’re done! Click “SAVE” and take a look.
It should look something like the following:


Step 3
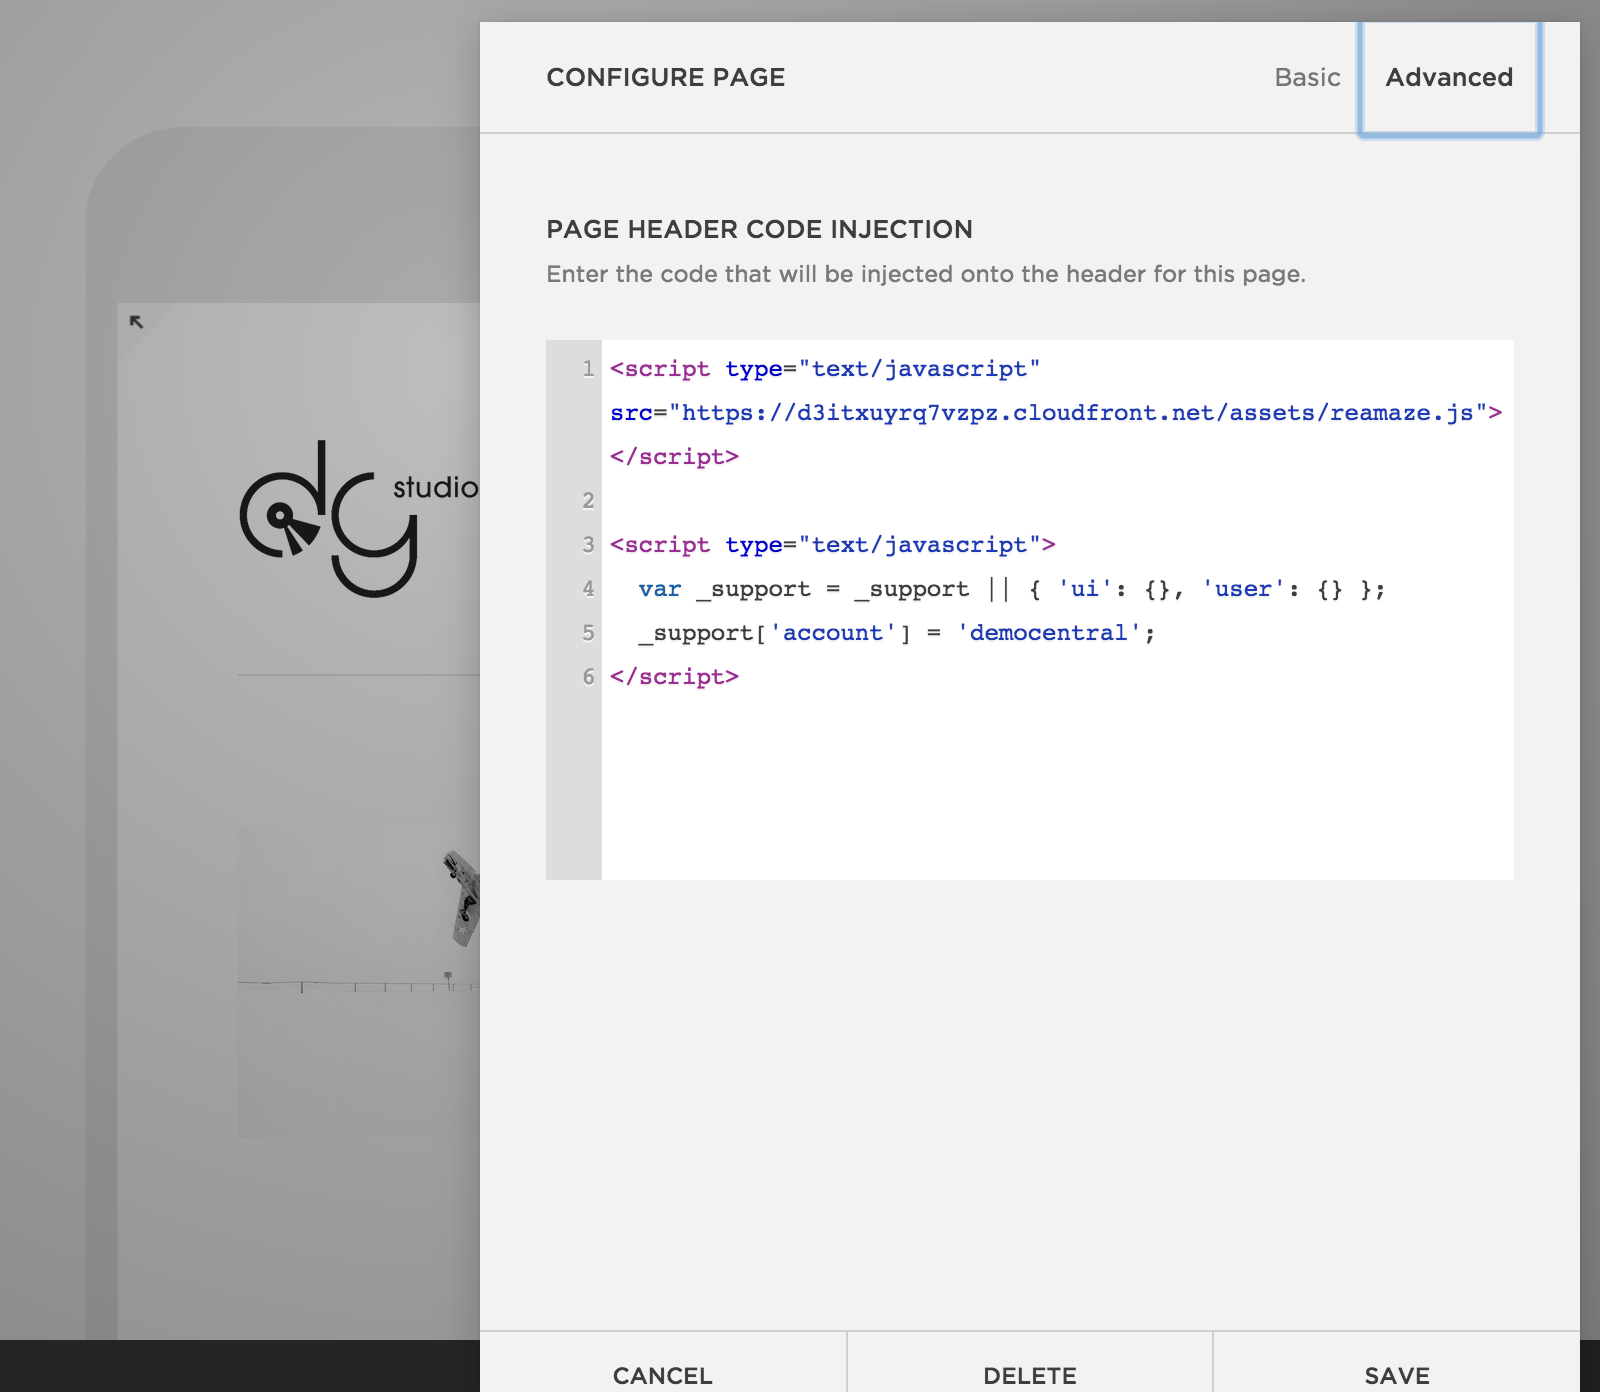
Now let’s say you want to try another Re:amaze widget called “Contact Form”. The contact form widget will allow your customers to fill out a form and log it as a conversation in your Re:amaze dashbaord. Go ahead and pick a page you want to install this widget on. I picked “About” for mine. Click on the gear icon like earlier to bring up the settings panel. Because this is not the index page (home page) of your site, you will now only be editing the page header. You can inject code here.
Click on “Advanced” and paste in the “Base Installation” script again from earlier. Also paste in the “Brand Identification” script. Stop here because this is all you need for the header section. The contact form itself needs to be inserted into the page content so we’ll worry about that next. Click “SAVE”.
Step 4
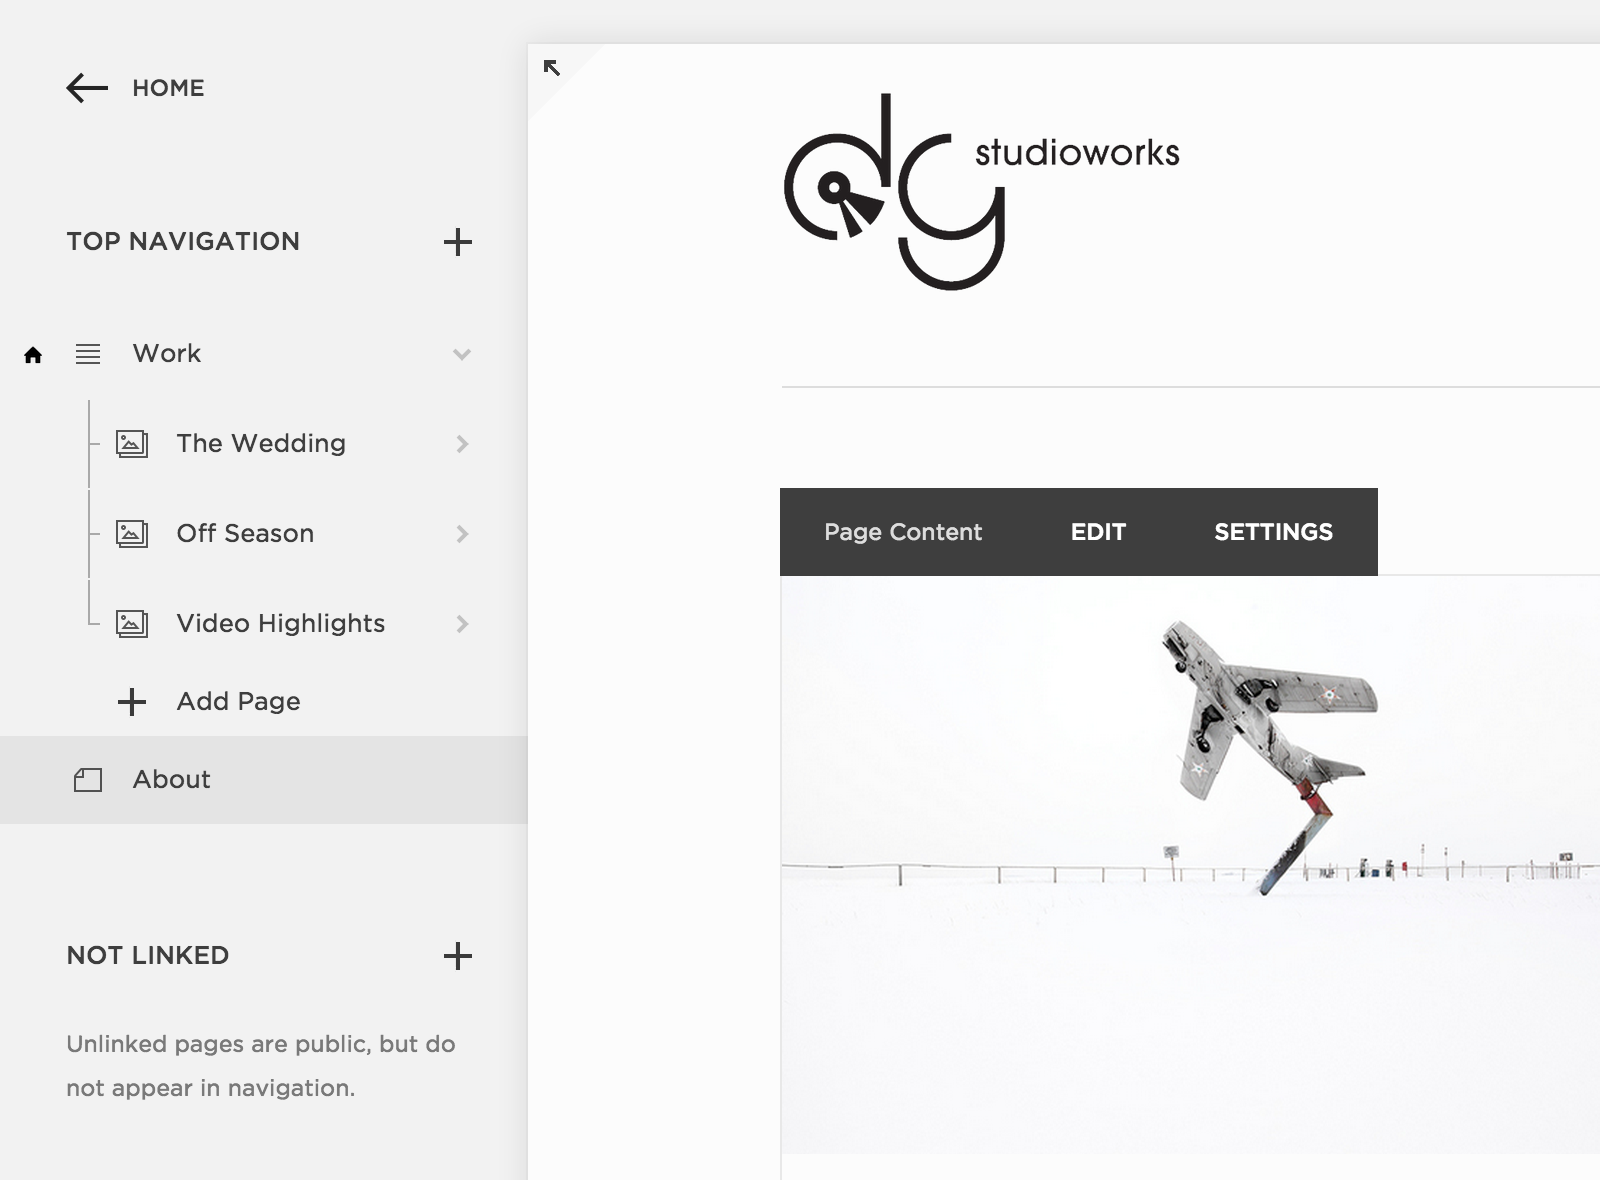
Now, back on the “About” page, you’ll want to start editing the body of the page. Squarespace lets you visualize everything so it’s fairly easy to determine where you want to insert something like a contact form. Pick the relevant section, mouse over it, and click “EDIT”.
Move your mouse to where you want to insert a contact form until this line appears and a bubble appears. Click it and Squarespace will ask you what you want to insert here. You can choose from a wide variety of widgets they offer.
Search for a widget called “Code”.
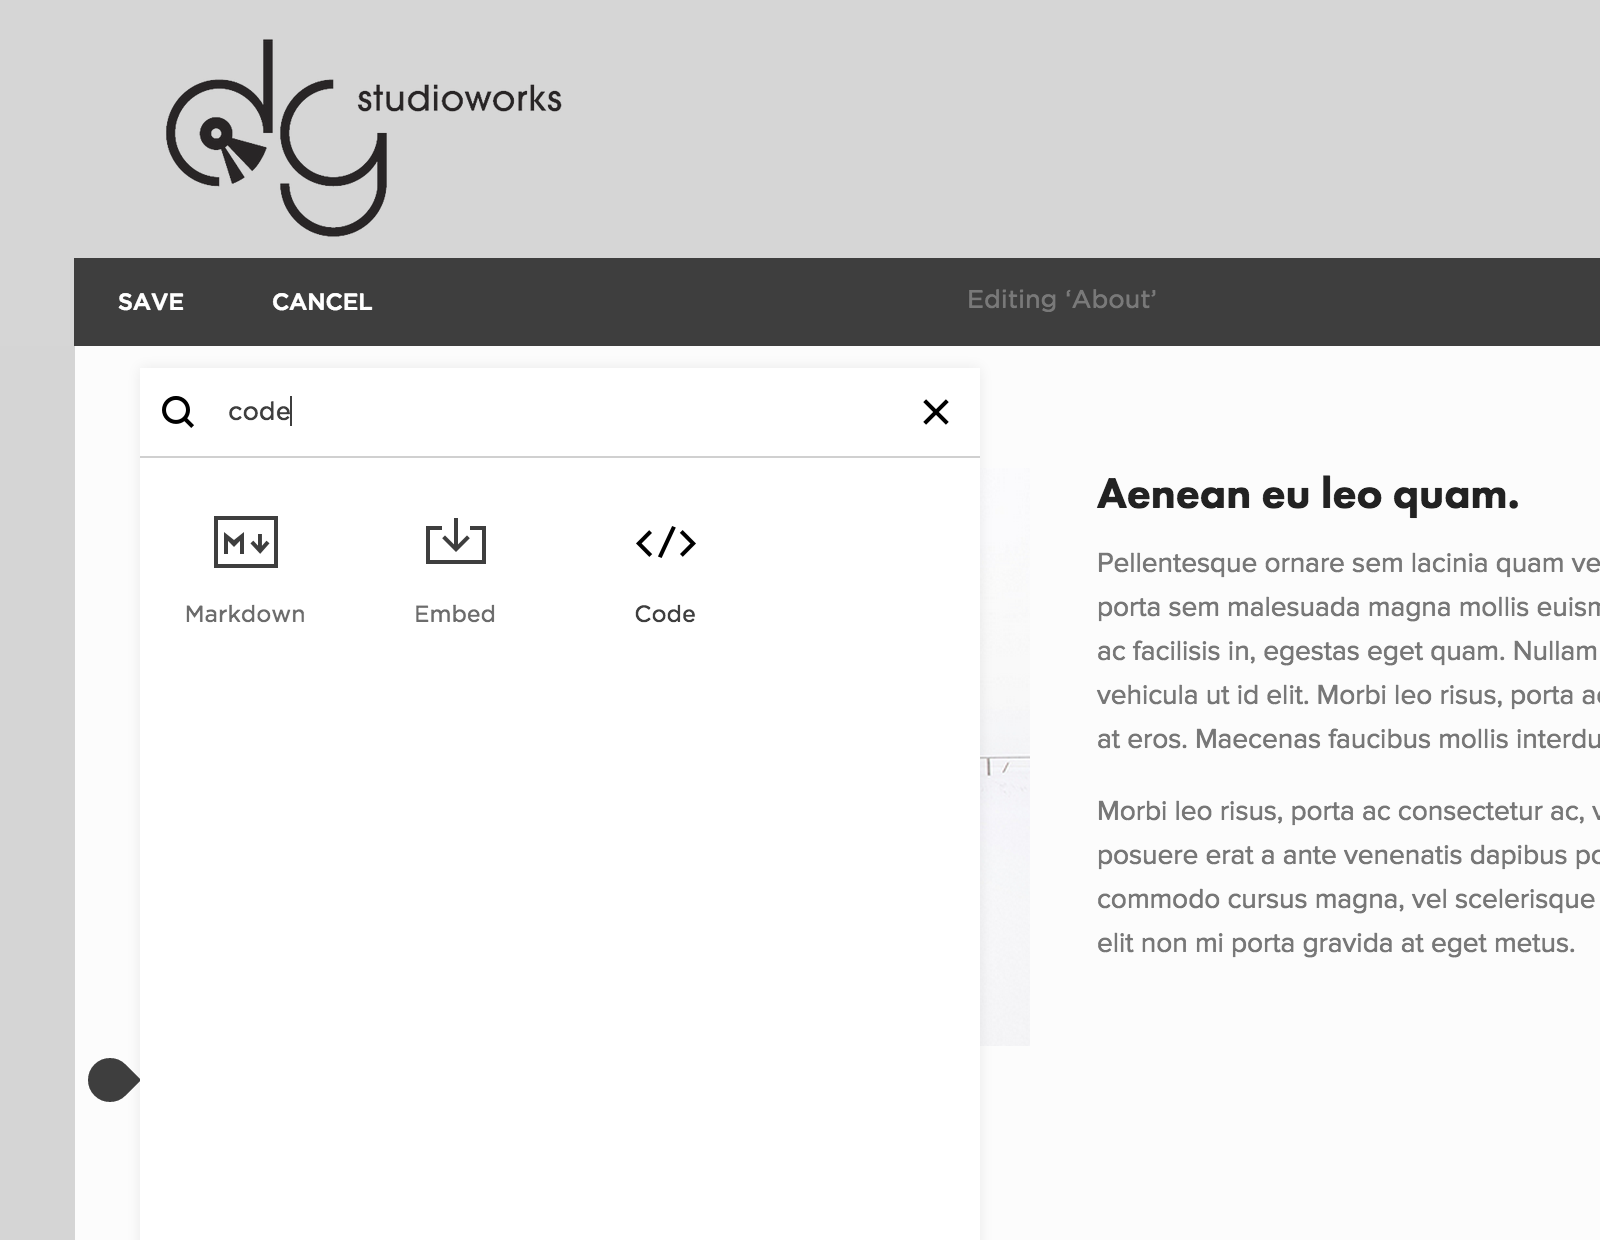
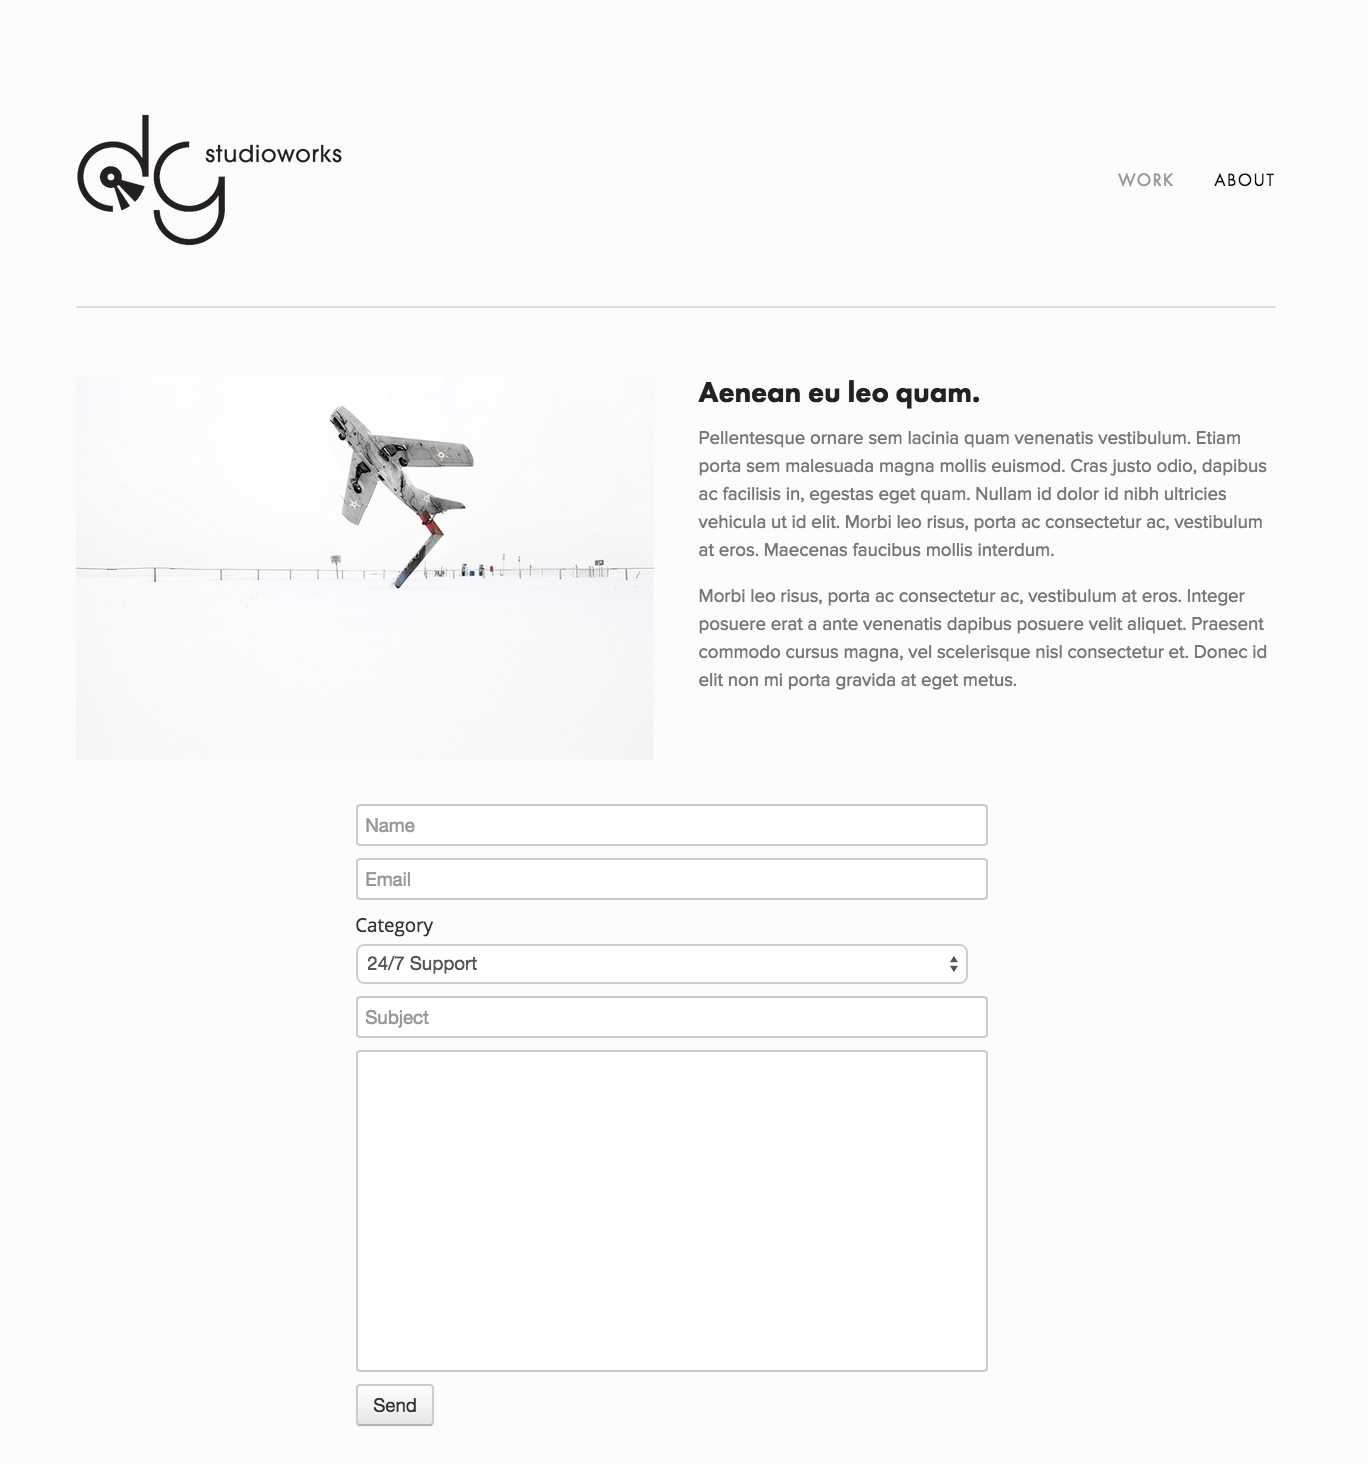
When you add code, a box like this will pop up. Now go back to the Re:amaze developer docs for contact form. Copy the script under “Installation” and paste it here. Click “SAVE”. And you’re done.

You should now see something like this:
What went wrong? (Optional)